Category:Tutorials
The Sorcerer: Customization
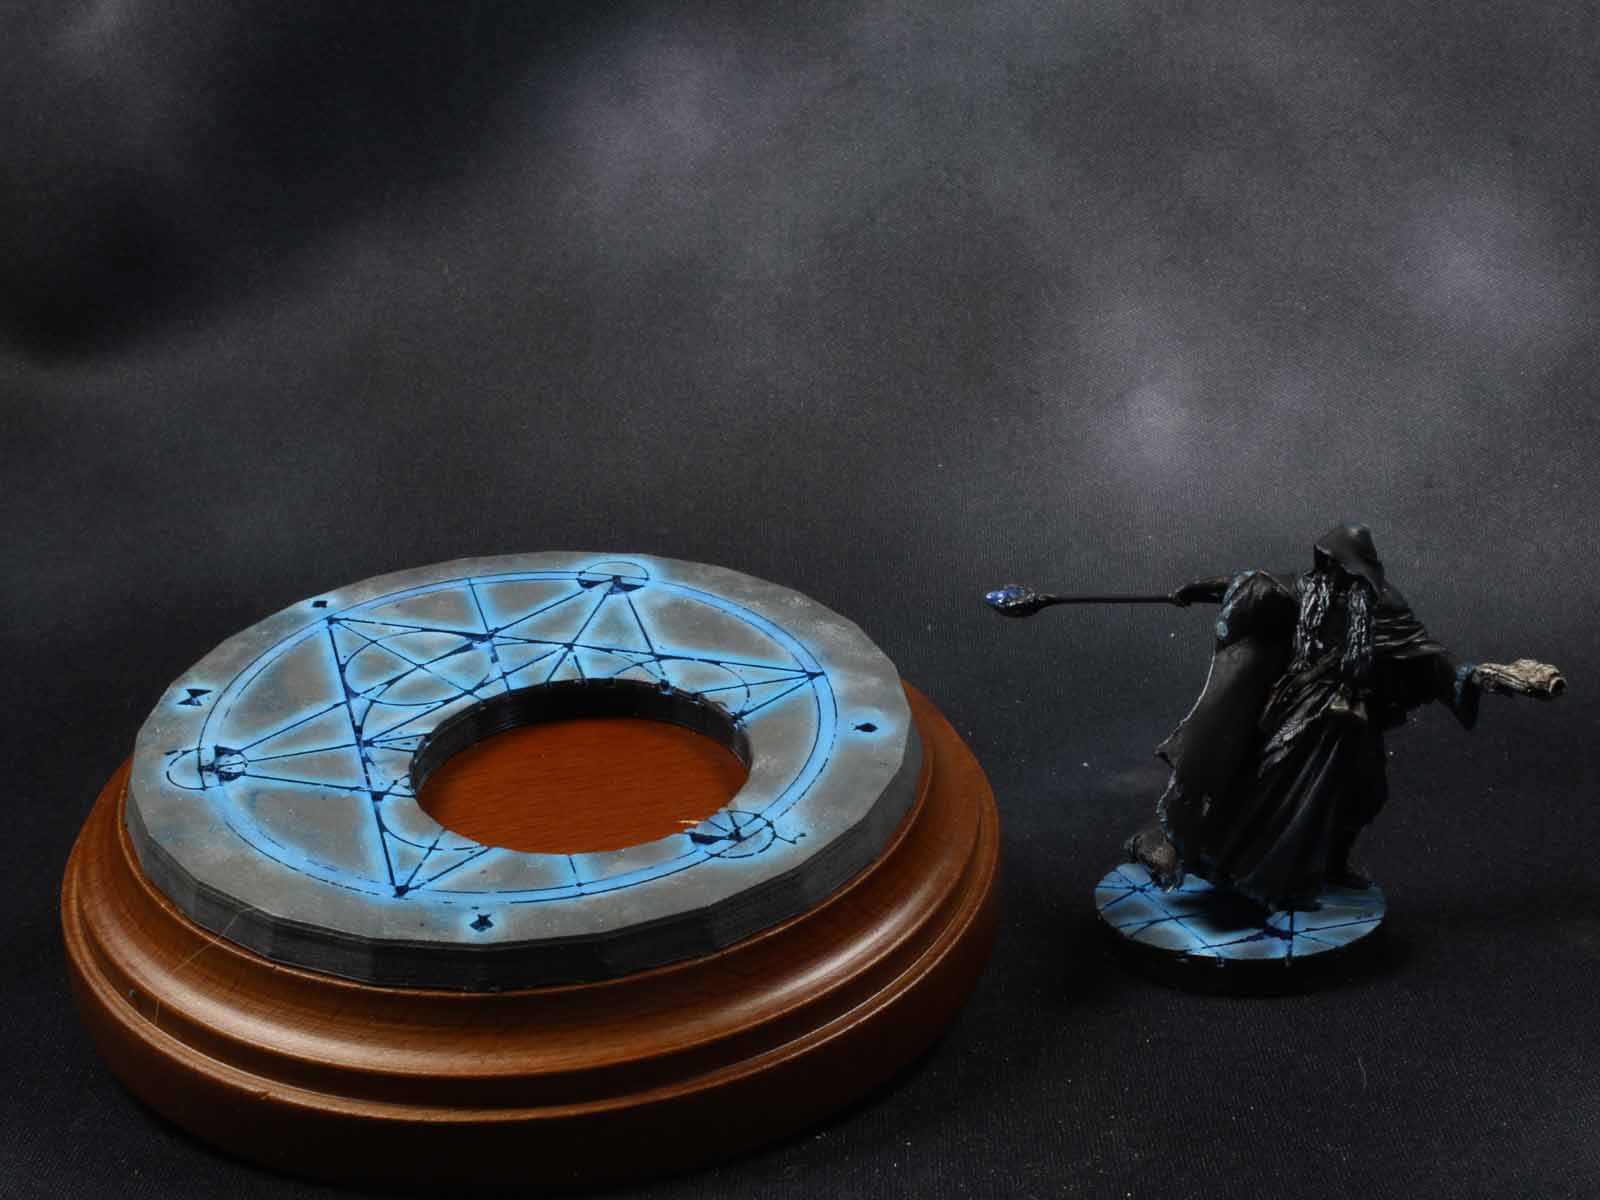
The last miniature I posted on the other page was The Sorcerer from Nocturna Models. It was customized from the original to fit the customer’s vision of his character. I wanted to share some of the process. Let’s start with the original mini. I grabbed a picture of the box art. I was asked to …
Read more
Tutorial: Ice and Snow Bases
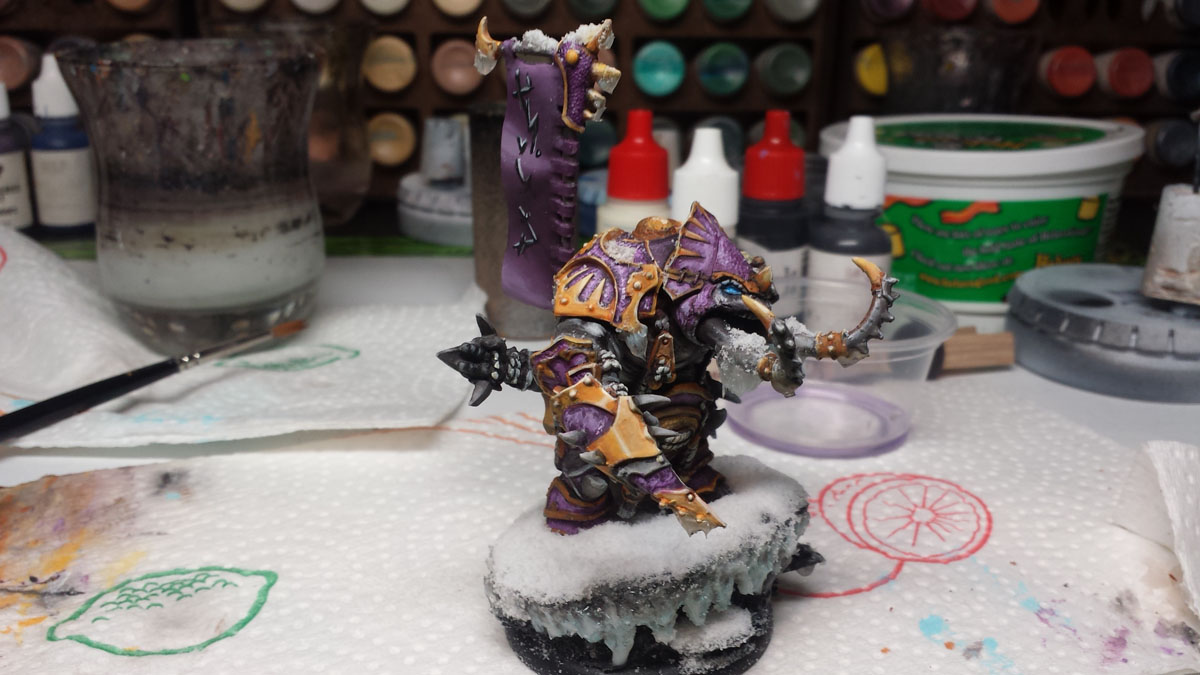
I’ve been asked several times to demonstrate how I built up the Winter Skorne bases. I’ve answered the questions, but I thought I’d flood a post with pictures of the process. I layered thin cork to prop up the feet and create a rocky outcropping type base. Sand fills the gaps nicely. There’s no need …
Read more
Making Removable Flight Stands with Sugru
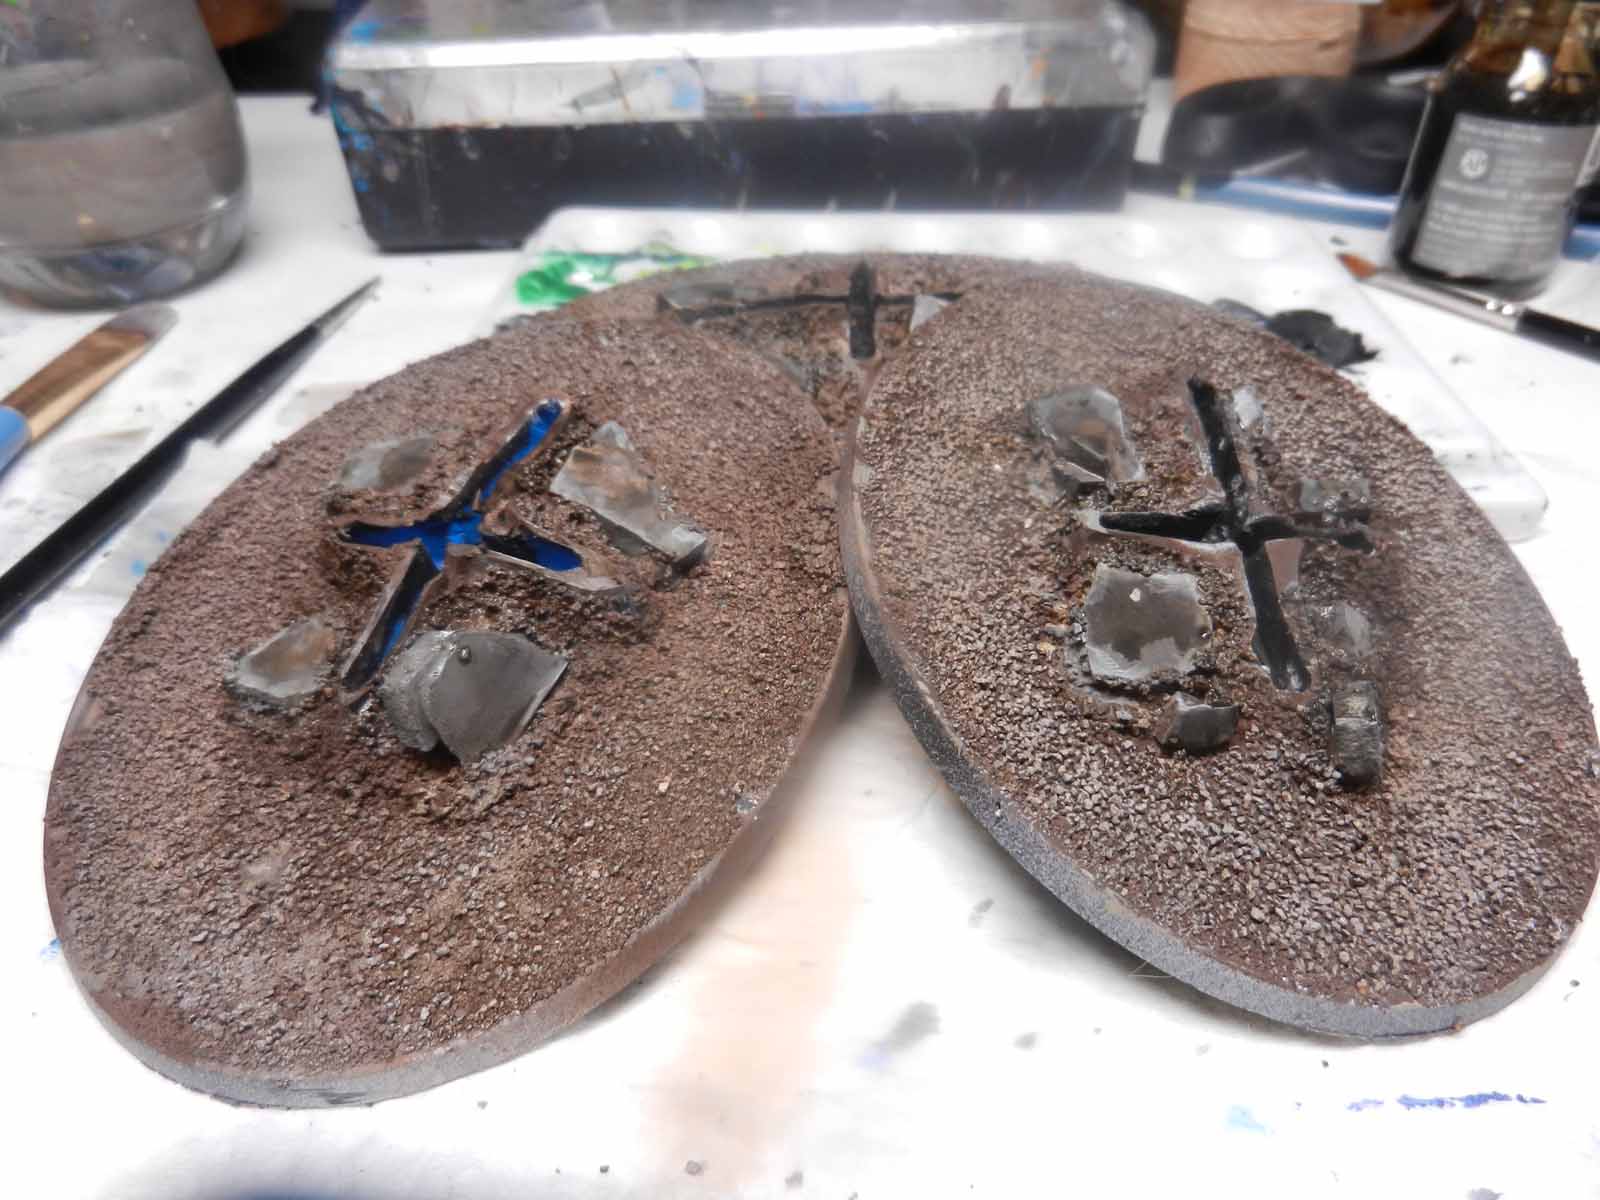
I mentioned a couple of posts ago about making the flight stands for the Necron Scythes removable using Sugru, a somewhat flexible self curing putty/rubber. I’ve been using this stuff to fix just about everything around the house since I ordered it. I used about two mini packets of Sugru per base. Now that I …
Read more
Painting Kyra’s Face
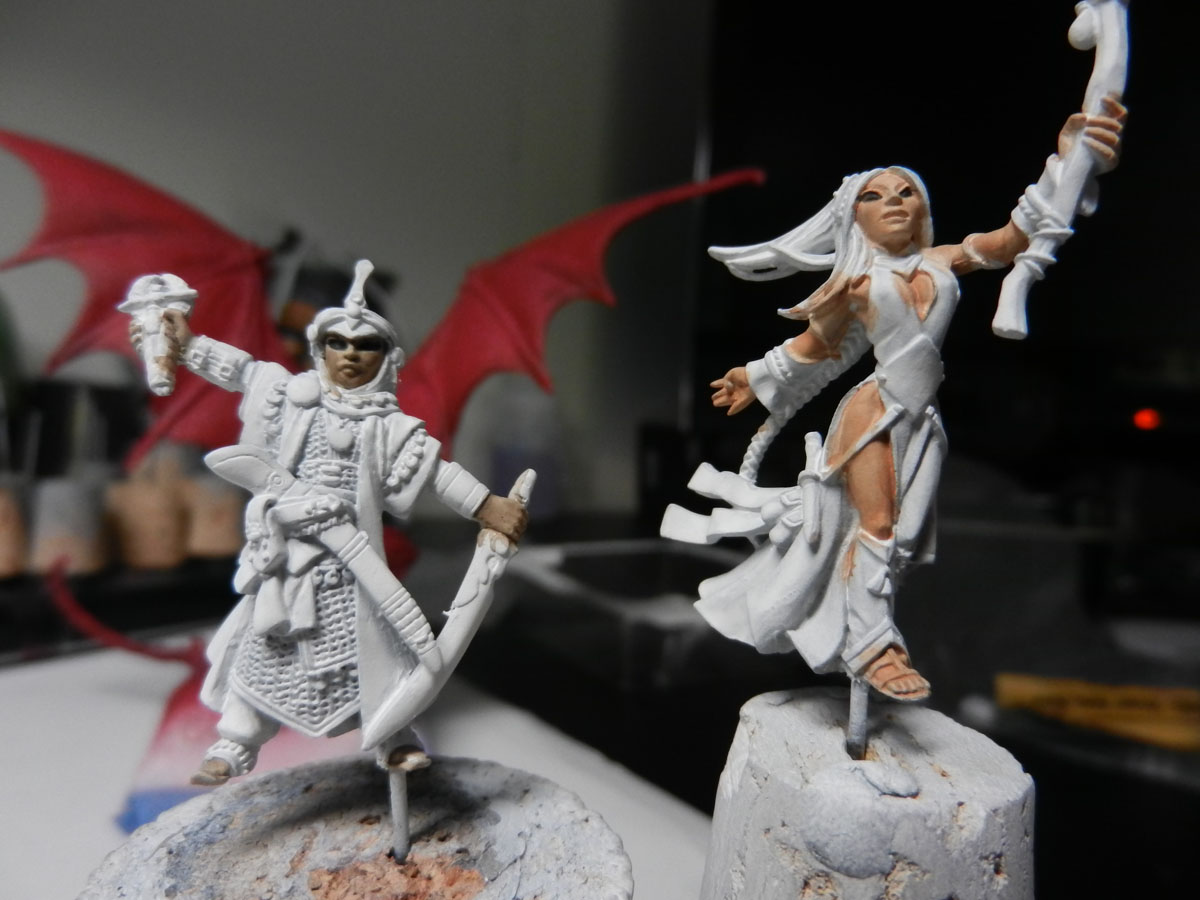
While waiting for the watery layers of Red Dragon to dry, I worked on Kyra’s face. Below is the artwork that I was sent to use as a reference. I used a base coat of Olive Skin Highlight and Dusky Skin. I mixed it about 50/50. Â A mix of Walnut Brown and a small …
Read more
Work in Progress Dragon : Basing, Groundwork, and Finishing
When satisfied with the painting, I use two part epoxy and pins to fasten the model to a base. Â I picked up this base at a craft store then stained and sealed it. Â Bases can also be found online and in hobby shops in all shapes, sizes, and materials. After the epoxy cures, groundwork can …
Read more
Work in Progress Dragon: Painting
Once the base coat is dried, I liberally applied thinned dark blue ink over the entire model. Â I don’t always use inks and washes but it works well with tiny scales to easily shadow around every one of them. The ink will take a while to dry. Once it’s ready, I go over every …
Read more
Work in Progress Dragon: Base Coat
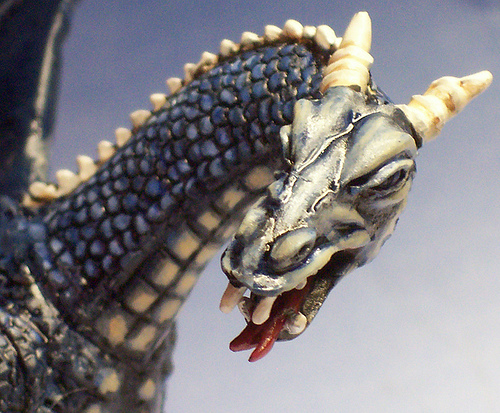
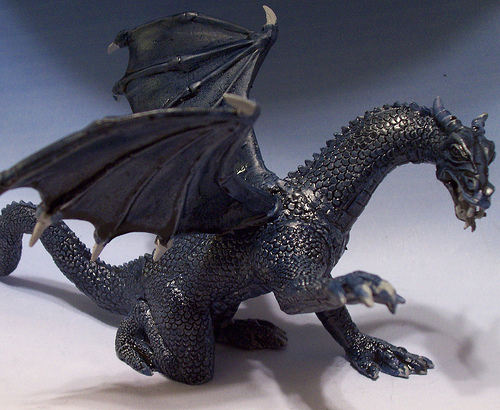
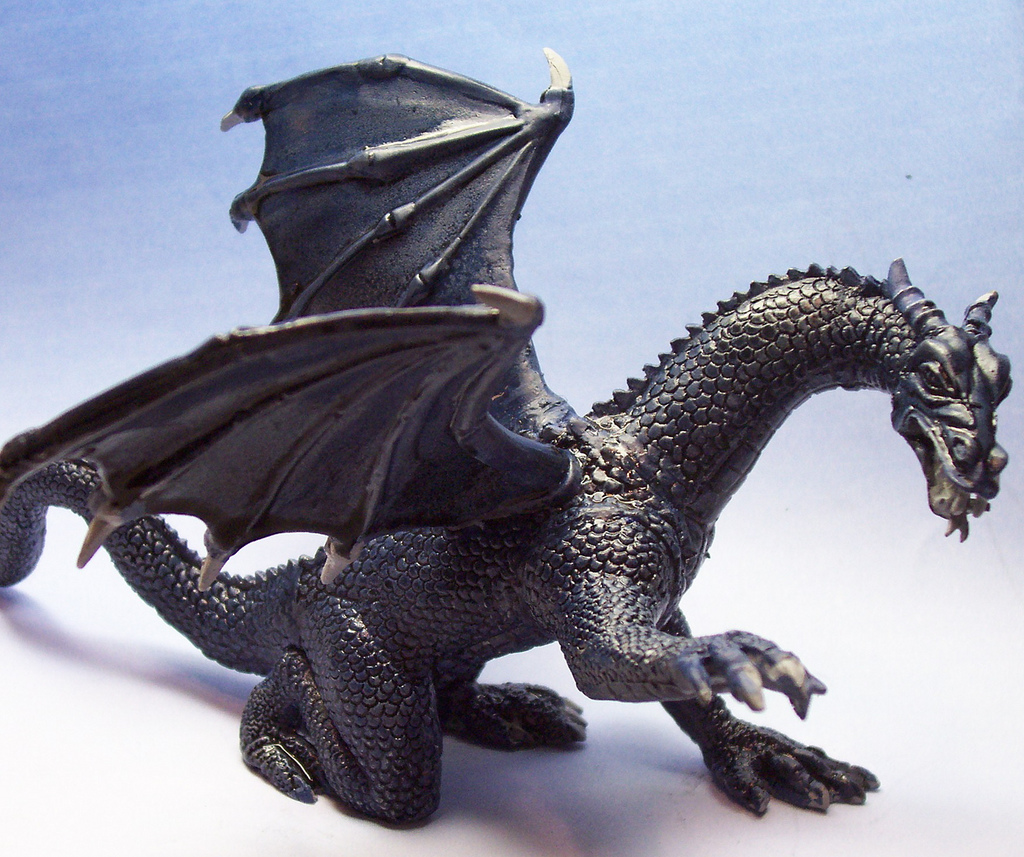
I have decided to create a blue dragon.  I used a dark blue paint for the base coat and then used a dark blue ink to get into the finely detailed areas.  I like to start with a  mid range of color so that any shadowing and highlighting that is needed will be noticeable.
Work in Progress Dragon: Primed
The project then gets a thin coat of primer and airbrushed. The color of primer and airbrushed base coat depends on the final color of the model. Â If a brighter color scheme is needed, then it’s best to go with a light colored primer. I use grey and sometimes white. Â If a dark coloring is …
Read more
Work in Progress Dragon: Assembling
I then assemble everything that can be put together without blocking the  path of my brush.  This dragon is easy enough to paint fully assembled.  I used pins, two part epoxy and epoxy putty for strength and joint filling.  The cord is used to keep the weight off of the wings until they are fully …
Read more
Work in Progress Dragon: Preparation
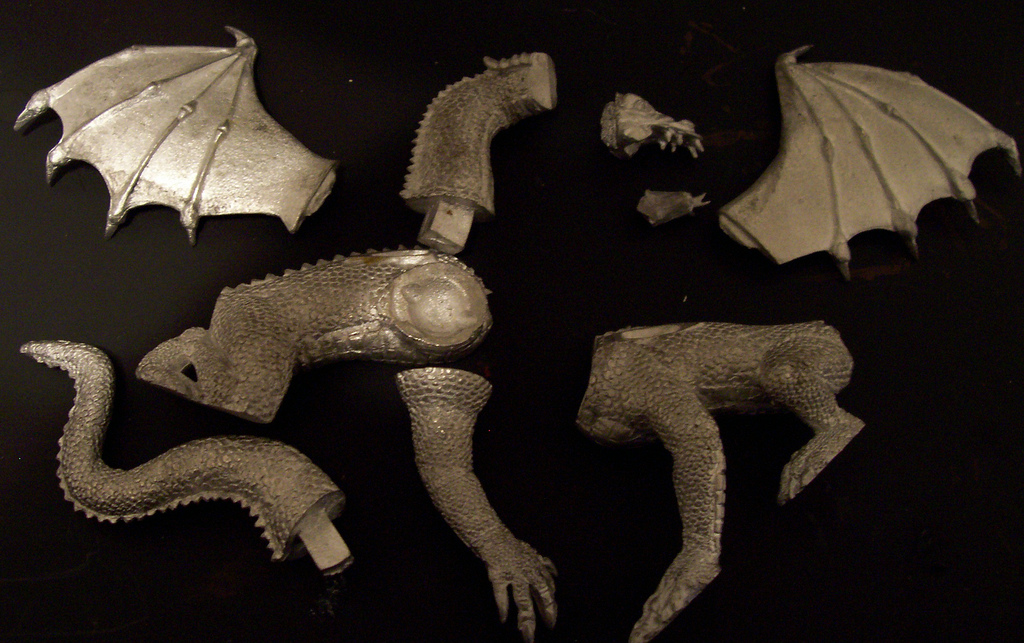
The first step in any project is to lay out the parts and make sure everything is there. Â I then take one piece at at a time and remove mold lines with a file and emery paper. All the parts then get washed with a mild solution of dish soap and warm water to remove …
Read more
Work in Progress: Dragon
I wanted to post a work in progress piece to illustrate what goes into the preparation and finishing of a miniature. I will post a part or two a day. Â This model was fairly simple but still time consuming. I use miniature files and a Bard Parker blade to clean up sprues and mold …
Read more
