The last miniature I posted on the other page was The Sorcerer from Nocturna Models. It was customized from the original to fit the customer’s vision of his character. I wanted to share some of the process.
Let’s start with the original mini. I grabbed a picture of the box art.
 | |
I was asked to create a dragon claw holding a sapphire stone for the end of the staff. I looked into real sapphires. While they’re not all that expensive, I don’t have the correct tools to shape the stone. Nearby, there is a great place called Nature’s Art. They have a large selection of stones and beads and fossils….and many other wonderful things. I got some help picking out several beads that had potential.

The resin staff was too fragile and small to sculpt onto to hold the stone, so I replaced it with jewelry wire that I picked up at Nature’s Art. I cut it to the same size and made sure it was straight with toothless pliers. In this picture you can also see that I had cut off his left hand and rotated it so the palm is facing up.

I was asked to make the hair longer. I did this with Milliput. I started with larger rolls of putty, then dragged it out with a pointy dental tool.


Next up was sculpting the staff claw and book. I missed a bunch of photo opportunities here. Before this step, I ground down the “sapphire” bead so it has a more pointy shape and secured it to the staff wire with glue and light cure resin.


The claw was glued on the wire with superglue and reinforced with light cure resin and Milliput. The book was blue tacked to his hand for positioning. These pieces are still rather fragile… something that the customer understood.

Details of the underside of the spellbook.

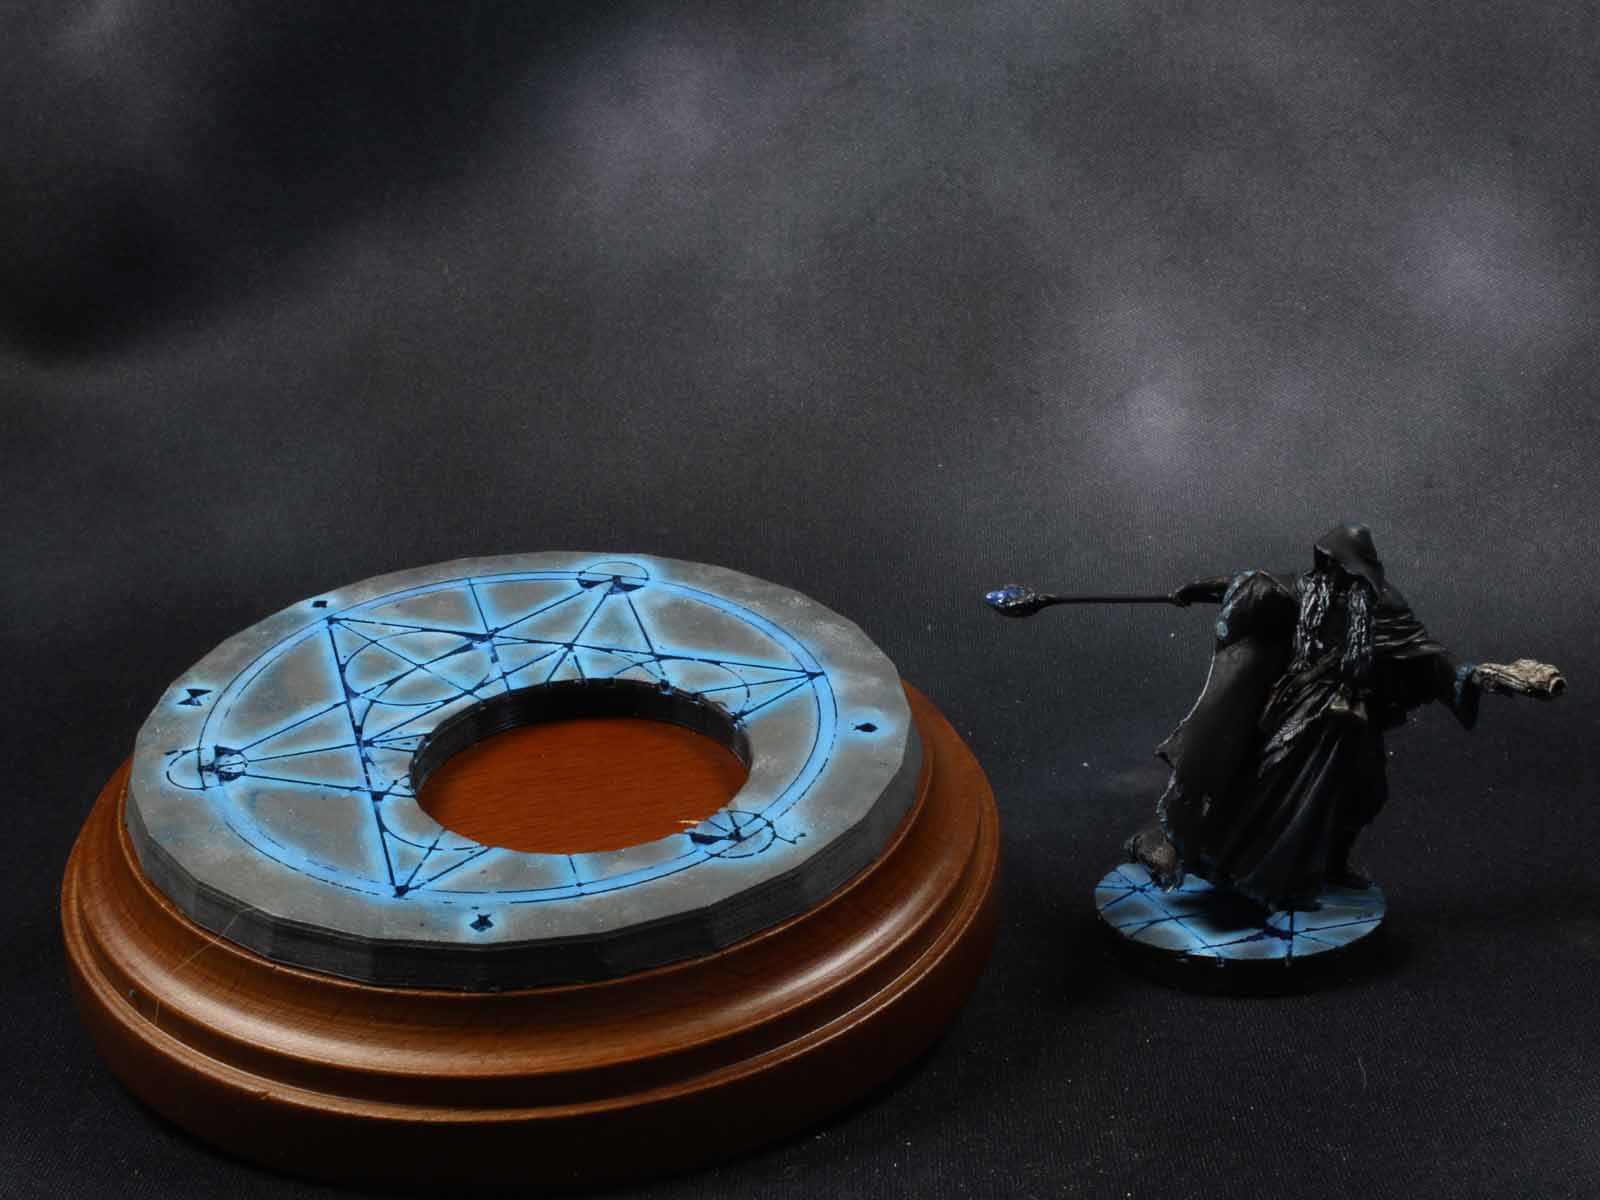
I used Tinkercad to digitally create a base for this guy. I wanted something more precise than what I could do with Milliput and I have my 3D printer on hand. Here’s the link to the file on Thingiverse. It was my first digital base design and print… so the quality of the print itself isn’t that great… I’ve gotten much better with both designing and printing. This picture shows a little bit of Milliput smeared onto the top. I was experimenting with smoothing out the top for painting.

Here is the final result.

